Table of Contents
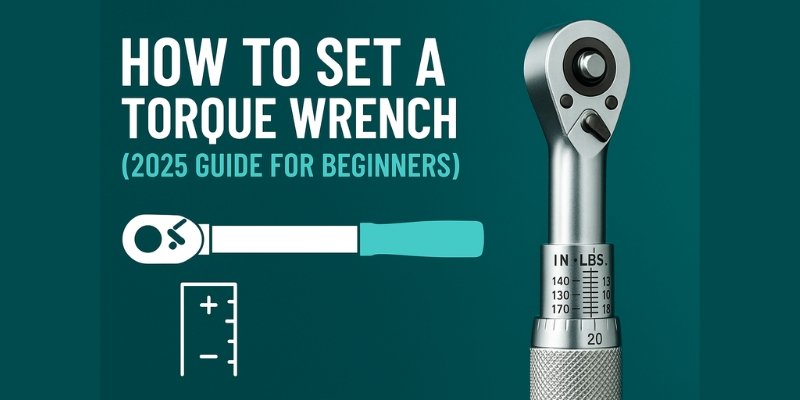
Toggle🔧 How to Set a Torque Wrench (2025 Guide for Beginners)
How to set a torque wrench properly is one of the most important skills for any mechanic, technician, or DIYer in 2025. Whether you’re working on a car, bicycle, or delicate electronics, understanding how to apply the right amount of torque can prevent damaged parts and ensure safety.
A torque wrench helps you tighten fasteners to the exact specification—no more, no less. And while tools today are smarter than ever, one common mistake remains: not setting your torque wrench the right way.
In this comprehensive guide, we’ll walk you through step-by-step how to set and use a torque wrench correctly, avoid costly mistakes, and maintain its accuracy for years. Whether you’re a weekend warrior or full-time mechanic, this is the must-read guide to using torque the right way.
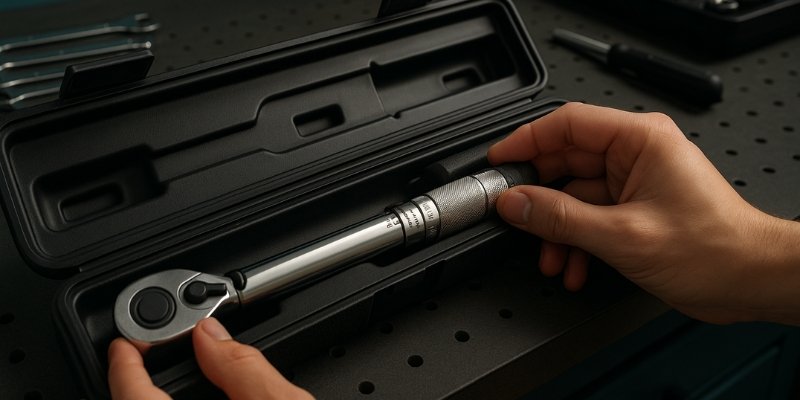
⚙️ What Is a Torque Wrench?
- A torque wrench is a tool that applies a specific amount of turning force to bolts and nuts for accurate tightening.
- It helps avoid overtightening (which can strip threads or break parts) and undertightening (which can cause bolts to loosen).
There are various types:
- Click-type (most popular)
- Beam-type (simple and visual)
- Digital torque wrenches (LCD and alert features)
- Dial-type (for high precision)
- Preset (usually for fixed applications)
In this guide, we’ll focus on the most commonly used — click-type torque wrenches, although many steps apply to others as well.
🧰 Tools You’ll Need
Before you start, make sure you have:
- Your torque wrench (preferably pre-calibrated)
- The correct torque specification (from a repair manual or part documentation)
- Sockets that match the fastener size
- A clean, flat surface to work on
✅ Step-by-Step: How to Set a Torque Wrench
🔍 Step 1: Identify Your Required Torque
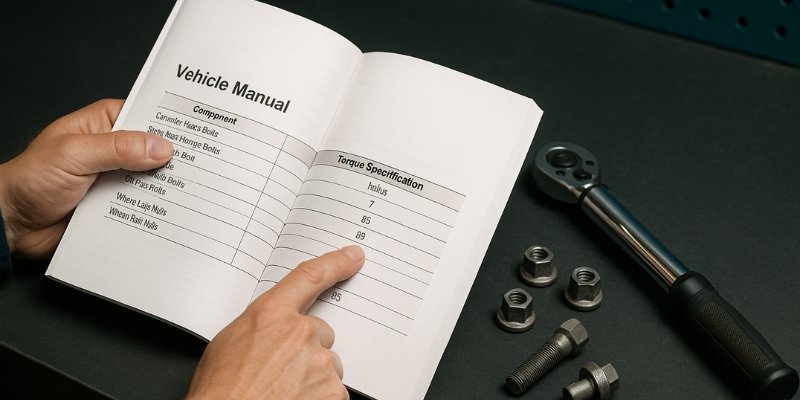
Start by identifying the exact torque specification required for the job. This is usually measured in:
- Newton-meters (Nm) – metric
- Inch-pounds (in-lbs) or foot-pounds (ft-lbs) – imperial
📘 Example: A lug nut may require 90 ft-lbs, while a bicycle seat post might only need 6 Nm.
⚠️ Make sure your wrench and your torque spec are in the same unit.
🛠️ Step 2: Unlock the Wrench
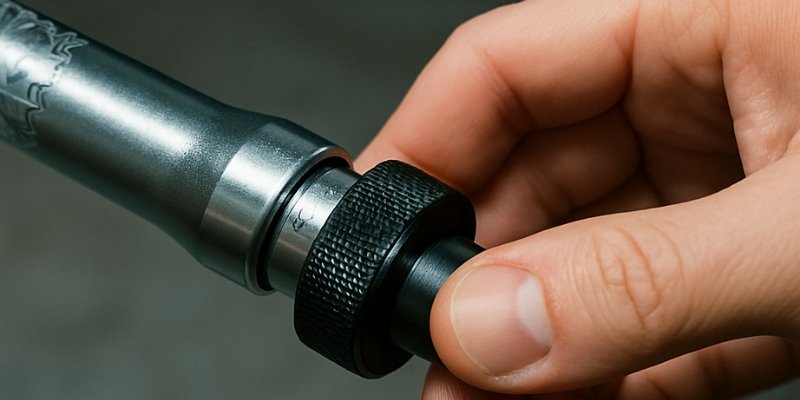
Most click-type torque wrenches have a locking knob or twist collar at the bottom of the handle.
- Turn the lock counterclockwise to unlock the handle.
- This will allow you to adjust the torque setting freely.
🎯 Step 3: Set the Desired Torque Value

This is where precision comes in.
- Adjust the handle clockwise to raise the torque setting.
- You’ll see a major scale marked along the shaft and a micro (minor) scale on the handle for fine adjustments.
Let’s say you want to set 85 ft-lbs:
- Align the handle to the major scale reading—such as 80 ft-lbs, for your target torque.
- Then rotate the handle until the micro scale reads “+5”.
Once aligned:
- Total torque equals 80 from the main scale plus 5 from the micro scale, resulting in 85 ft-lbs.
- For Nm or in-lbs, follow the same concept.
🔒 Step 4: Lock It In

Once your desired torque is set:
- Secure the setting by turning the locking knob at the base clockwise until it’s firmly in place.
- This prevents accidental movement and preserves calibration.
✅ Double-check the scale to ensure the correct torque is still displayed.
🔧 Step 5: Attach the Correct Socket
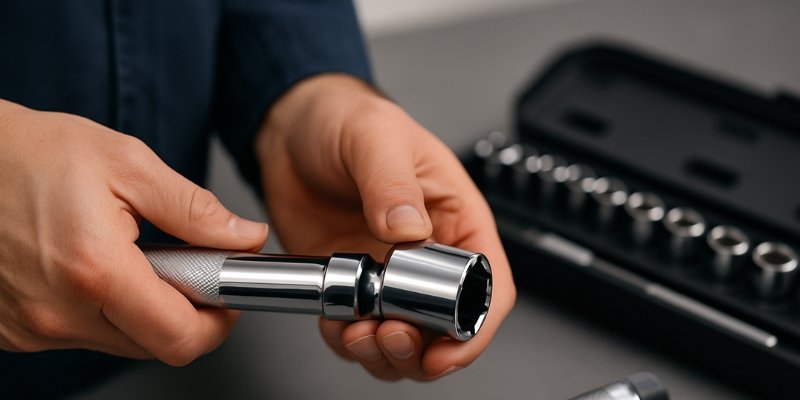
Choose a socket that fits your bolt or nut securely:
- Never use a worn-out or incorrect socket
- Attach the correct socket to the square drive and ensure it clicks into place securely.
Now you’re ready to torque the fastener.
⚙️ Step 6: Use Proper Torque Technique

This is the most overlooked step. Here’s how to do it right:
- Position the wrench perpendicular to the bolt
- Apply slow, steady pressure
- Hold the handle near its center—avoid gripping too close to either end.
- Wait for the “click” sound or feel — that’s your signal to stop
⚠️ Do not keep pulling after the click. That defeats the purpose of using a torque wrench.
✅ Step 7: Reset After Use
After completing your job:
- Set your wrench back to its lowest scale setting (e.g., 10 ft-lbs)
- Don’t set it to zero unless the manufacturer instructs
This reduces tension on the internal spring and preserves calibration accuracy.
📊 Torque Conversion Chart (Quick Reference)
ft-lbs | Nm | in-lbs |
10 | 13.6 | 120 |
25 | 34.0 | 300 |
50 | 67.8 | 600 |
75 | 101.7 | 900 |
100 | 135.6 | 1200 |
💡 Common Mistakes to Avoid
❌ Using it as a breaker bar
❌ Applying torque too fast
❌ Not resetting after use
❌ Ignoring calibration schedule
❌ Holding the wrench near the head
Misusing the tool can cause inaccurate torque readings or even damage the wrench—potentially resulting in mechanical failure.
📘 When to Use a Torque Wrench
Torque wrenches aren’t just for pros. Use one any time you’re working on:
- 🚴 Bicycles (carbon frames, stems, derailleurs)
- 🚗 Cars (lug nuts, cylinder heads, suspension)
- 🔧 Motorcycles (brake calipers, chain guards)
- 🔫 Firearms (scope mounting)
- 💡 Electronics (sensitive circuit boards or enclosures)
If it has bolts and it matters how tight they are, use a torque wrench.
🔄 How Often Should You Calibrate It?
To keep your wrench reliable:
- Recalibrate the torque wrench once a year or after 5,000 uses to maintain accuracy.
- Also recalibrate after a hard drop
You can do this:
- Through certified calibration labs
- At some auto parts retailers with calibration stations
Here are 3 top-rated beginner-friendly torque wrenches available on Amazon:
- Tekton 1/2” Click Torque Wrench (10–150 ft-lbs)
- Chrome-vanadium steel build
- High-contrast dual-scale
- Excellent for general automotive use
- EPAuto 1/4” Drive Torque Wrench (20–200 in-lbs)
- Affordable and accurate
- Includes case and calibration certificate
- Great for bikes and electronics
- Wheeler FAT Wrench (10–65 in-lbs)
- Ideal for firearms and optics mounting
- Ergonomic design with preset capability
- Click-type for controlled torque
❓ Frequently Asked Questions (FAQs)
Q1: Can I use a torque wrench to loosen bolts?
A: No, torque wrenches are for tightening only. Use a regular ratchet or a breaker bar to loosen fasteners, avoid using a torque wrench for this.
Q2: Should I always hear a “click”?
A: Yes, unless using a beam or digital style. Click-type wrenches signal when torque is reached.
Q3: Is setting to zero safe after use?
A: No. Most manufacturers recommend setting to the lowest scale value, not zero.
Q4: Can I use extensions?
A: Yes, but be cautious. Extensions can affect torque accuracy if used improperly.
Q5: How do I convert Nm to ft-lbs?
A: Multiply Nm x 0.7376 = ft-lbs. Use a chart or calculator.
Q6: Do I need a different wrench for each unit?
A: Not necessarily. Many modern wrenches show both Nm and ft-lbs on the same scale.
Q7: What happens if I over-torque?
A: Over-torqueing can strip threads, warp materials, or break bolts.
Q8: Is it safe to use a torque wrench on plastic parts?
A: Yes, but set torque very low and proceed carefully.
Q9: Can I calibrate it myself?
A: It’s possible, but not recommended. Use a certified calibration lab for accuracy.
Q10: How should I store it?
A: Store the torque wrench in a dry environment, inside its case, with the handle turned back to the lowest torque setting.
✅ Final Verdict
Learning how to set a torque wrench properly is one of the smartest things you can do as a mechanic, DIYer, or technician. It’s not just about getting bolts tight; it’s about safety, performance, and longevity.
By following this guide, you’ll ensure every fastener is tightened exactly as needed, avoiding stripped threads, part failure, or dangerous looseness.
✅ Remember:
- Always know your required torque
- Set your wrench precisely
- Stop at the “click”
- Recalibrate annually
Whether you’re working on a road bike, an engine block, or a rifle scope — your torque wrench is only as good as how well you set it.